Create your account
Before you start
- Install MYCURE Pxp from the App Store.
- Have your date of birth handy. Your clinic uses it, together with your name, to match your records.
Steps
1. Open the app and read the welcome
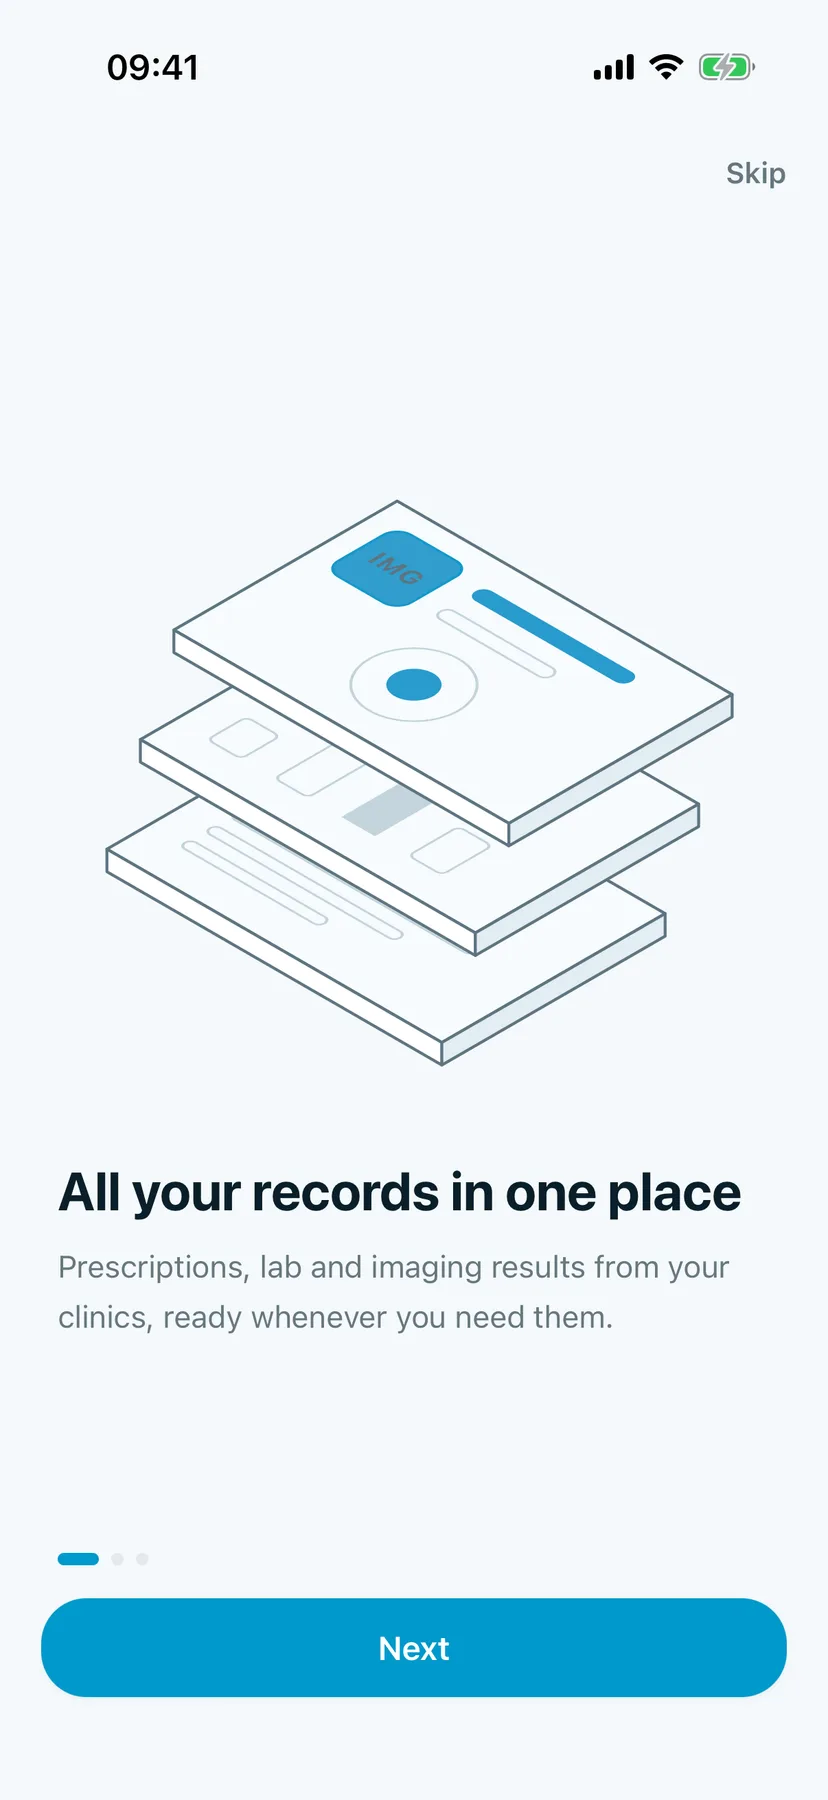
Open MYCURE Pxp. Three short pages explain what the app does. Tap Next to go through them, or Skip to jump ahead.
You should see: All your records in one place, with a Next button at the bottom.
2. Go to the last welcome page
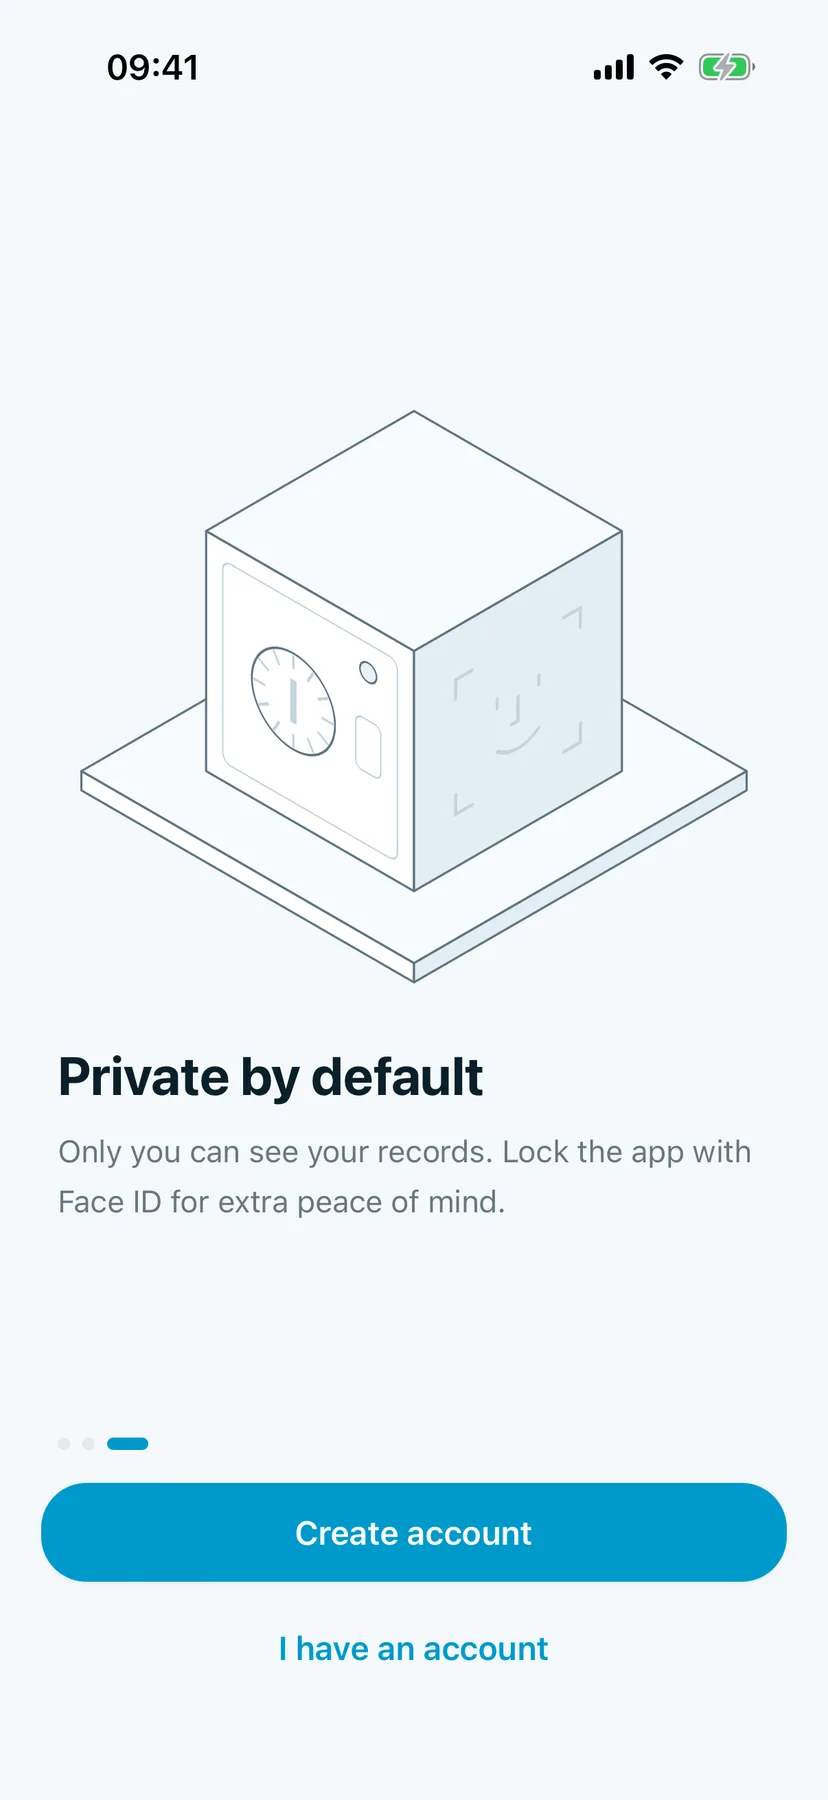
Tap Next twice. The second page is Connect your clinic. The last page is Private by default.
You should see: Private by default, with Create account and I have an account buttons.
3. Start your account
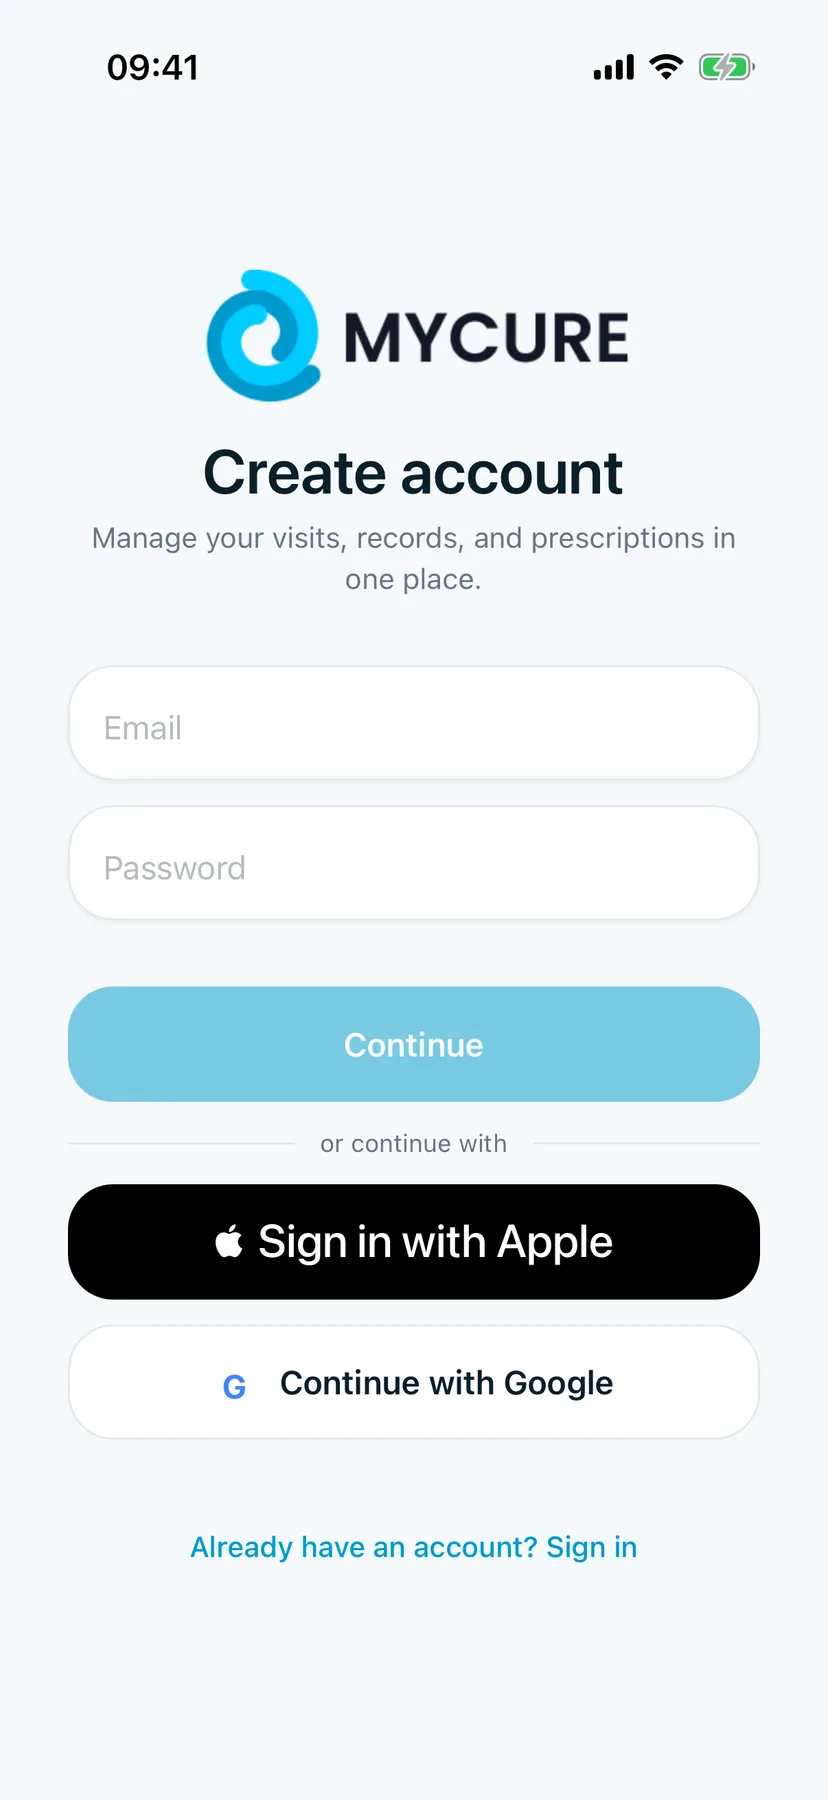
Tap Create account.
You should see: Create account, with an Email box, a Password box and a Continue button.
4. Type your email and a password
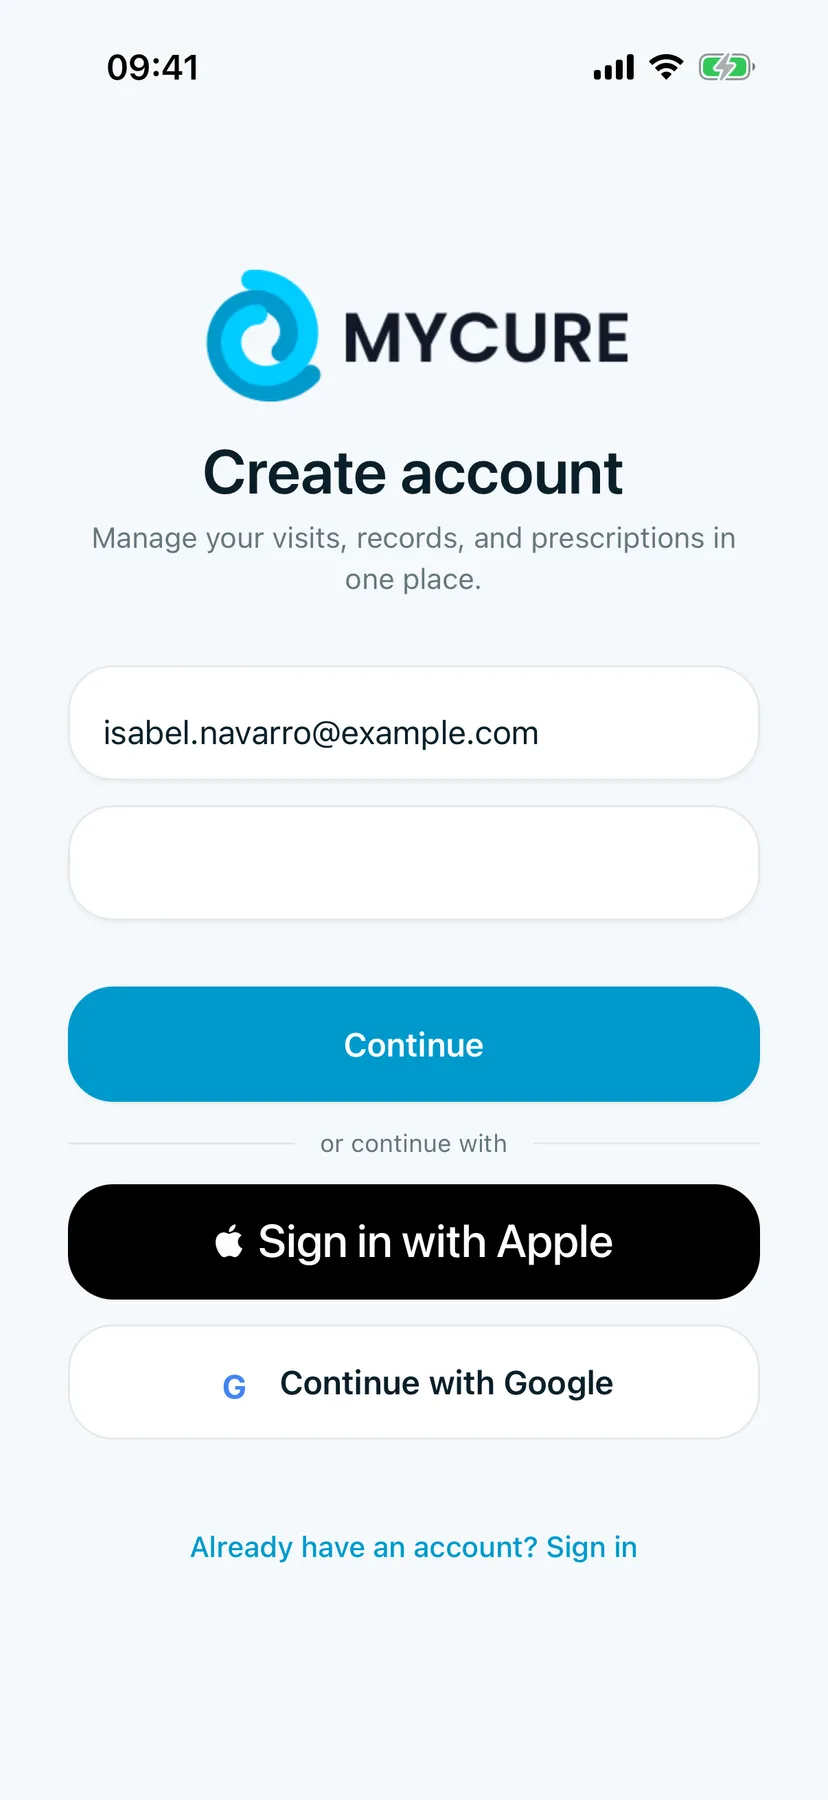
Type your Email and choose a Password, then tap Continue.
You should see: your email in the first box. Your password stays hidden.
Use Apple or Google instead
Tap Sign in with Apple or Continue with Google to use an account you already have. You won't need a new password. The app then asks for your date of birth and sex, the two things Apple and Google don't share.
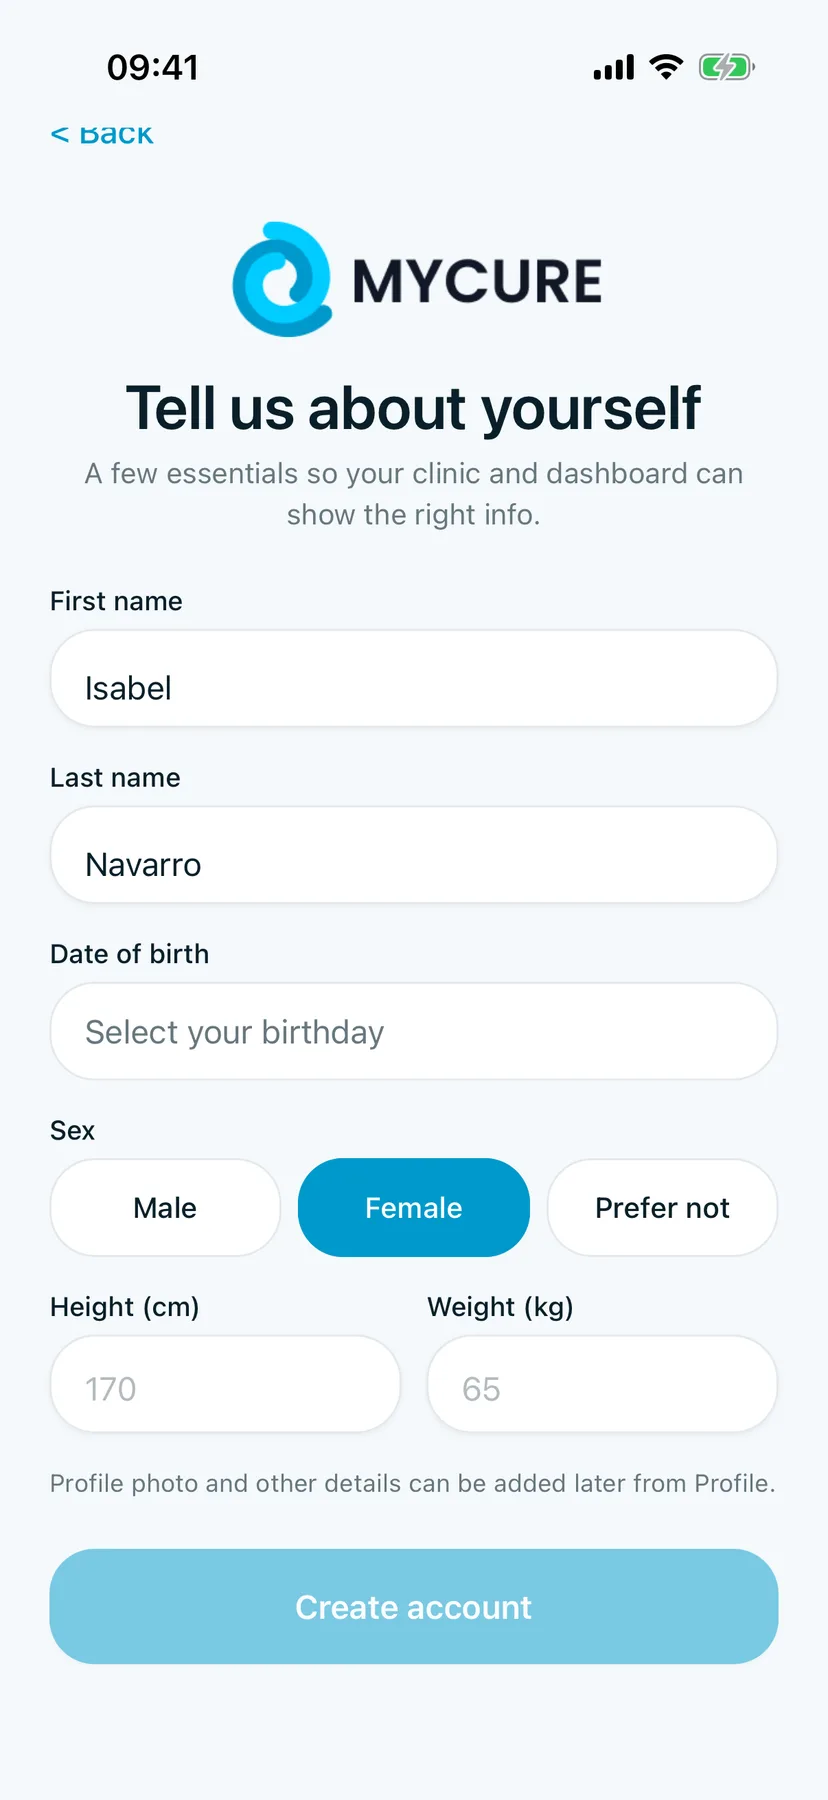
5. Tell the app about yourself
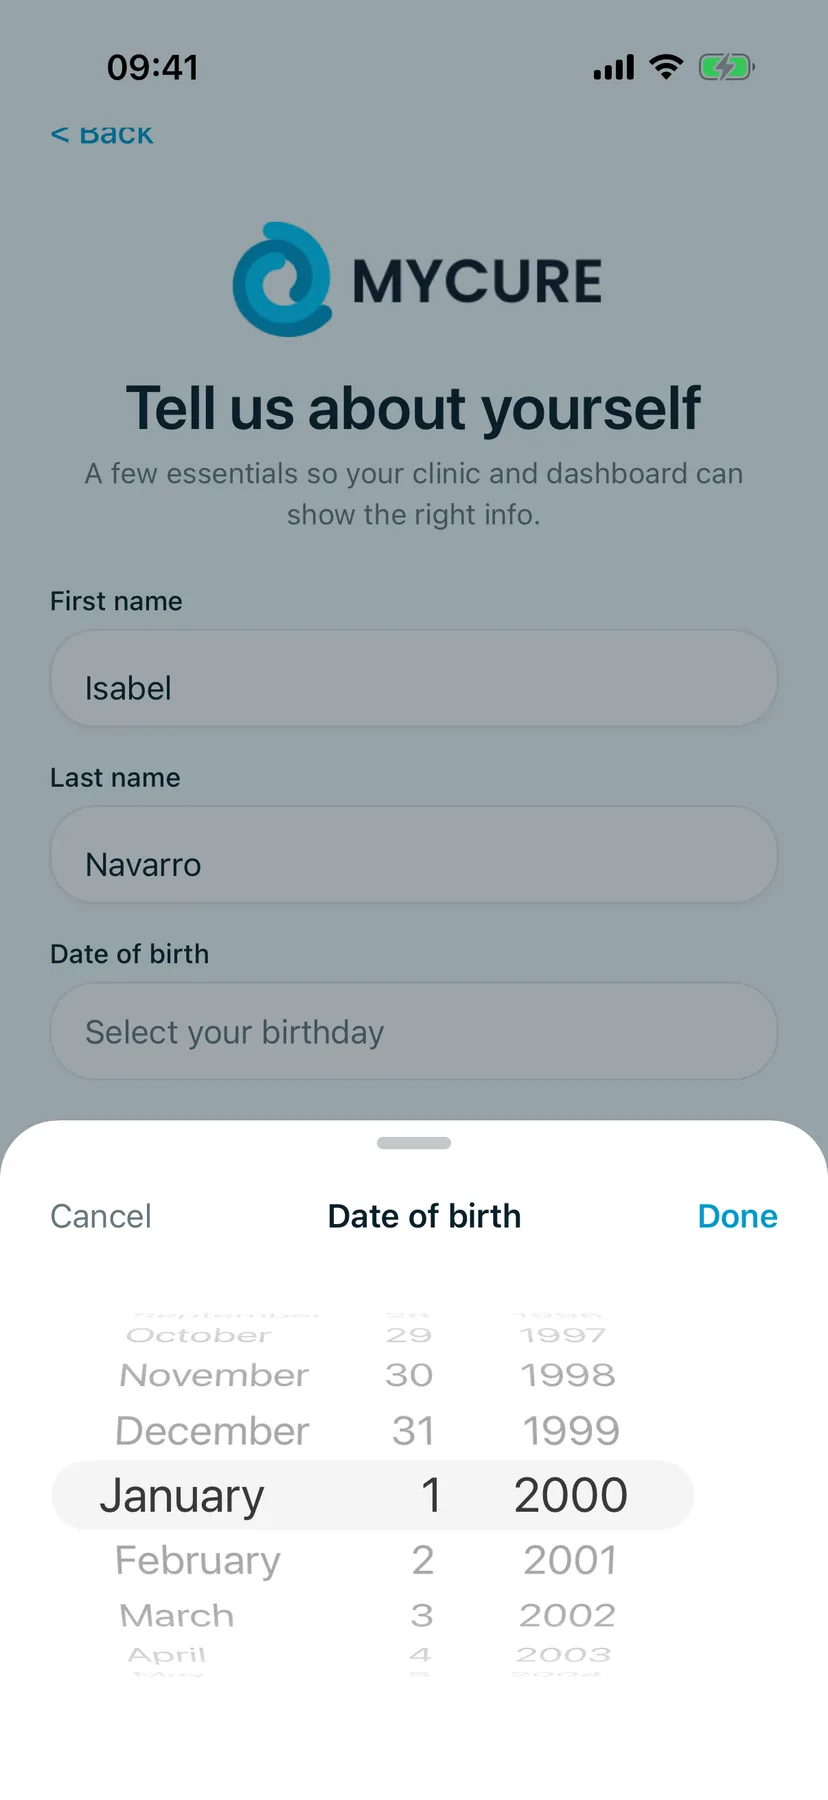
Fill in First name, Last name and Sex. Tap Date of birth to pick your birthday, then tap Done. Height (cm) and Weight (kg) are optional.
You should see: Tell us about yourself, with your details filled in.
6. Create the account
Scroll down and tap Create account.
You should see: Connect your clinic, the first of three short setup steps.
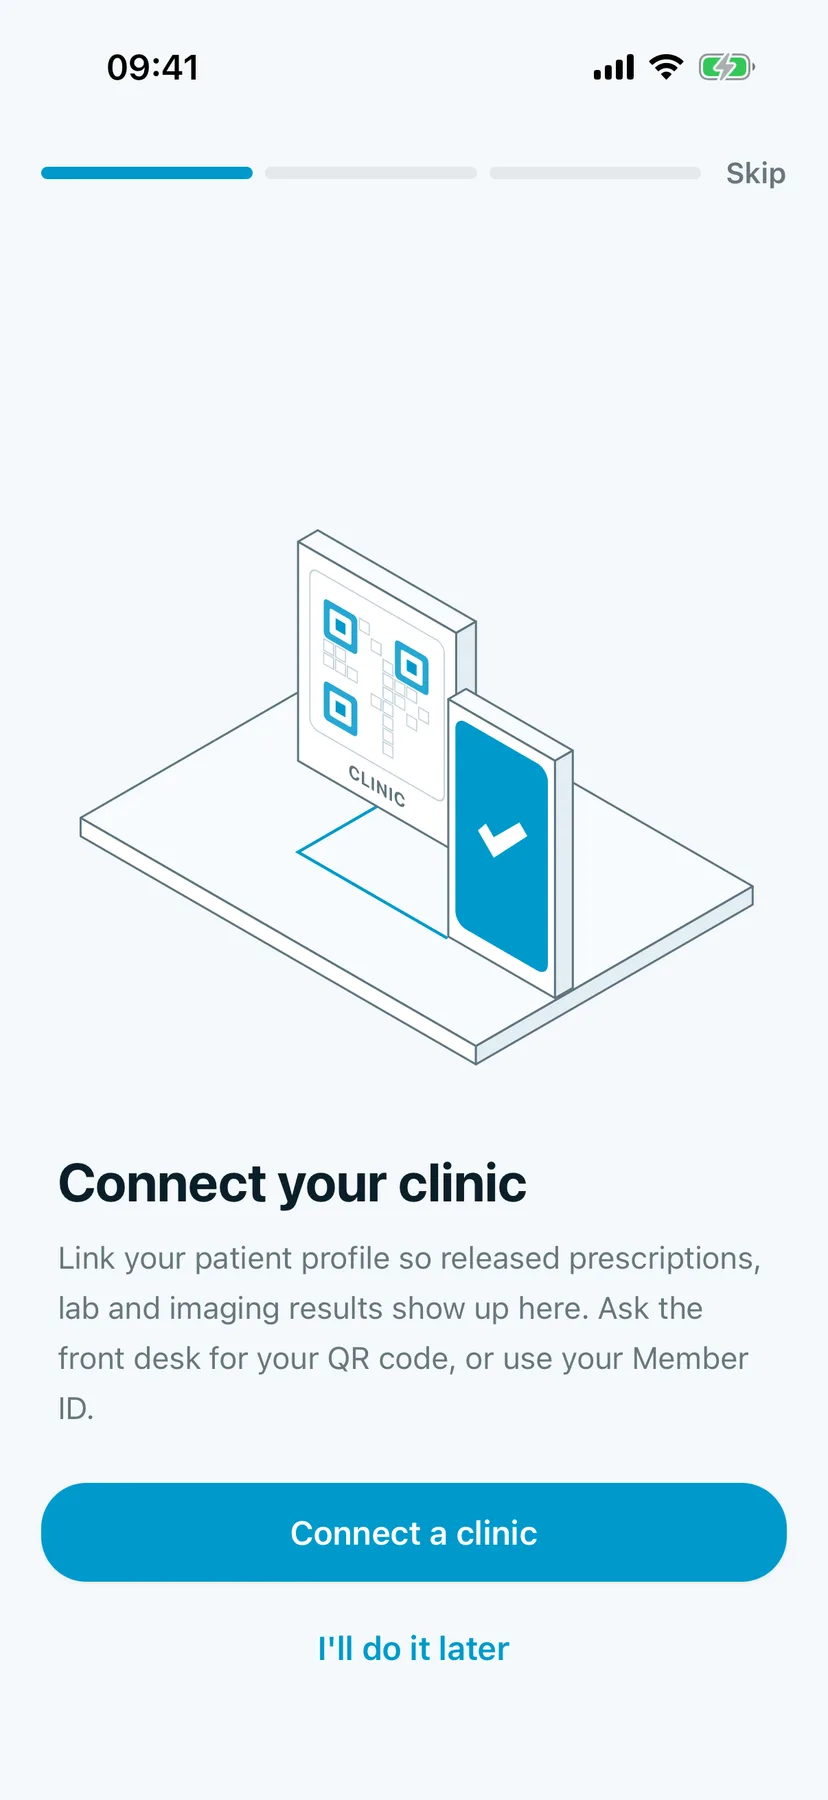
7. Connect a clinic now, or later
Tap Connect a clinic if you have your clinic's QR code or your Member ID ready (how). Otherwise tap I'll do it later.
You should see: Turn on Face ID.
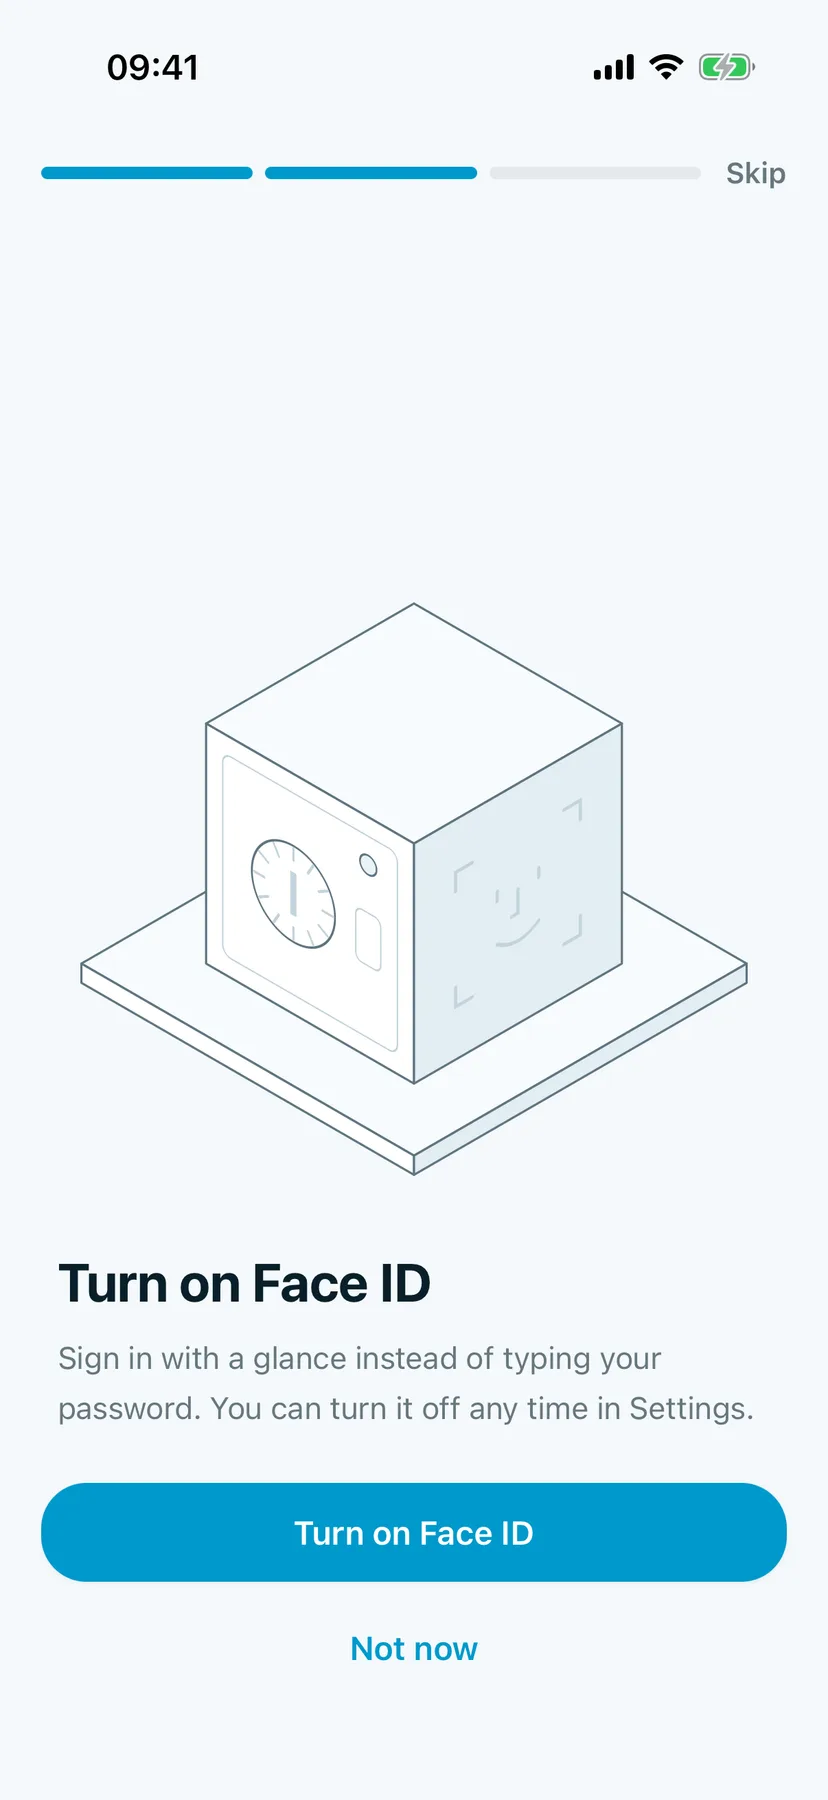
8. Turn on Face ID, or not now
Tap Turn on Face ID to unlock the app with your face, or Not now. You can change this later in Settings.
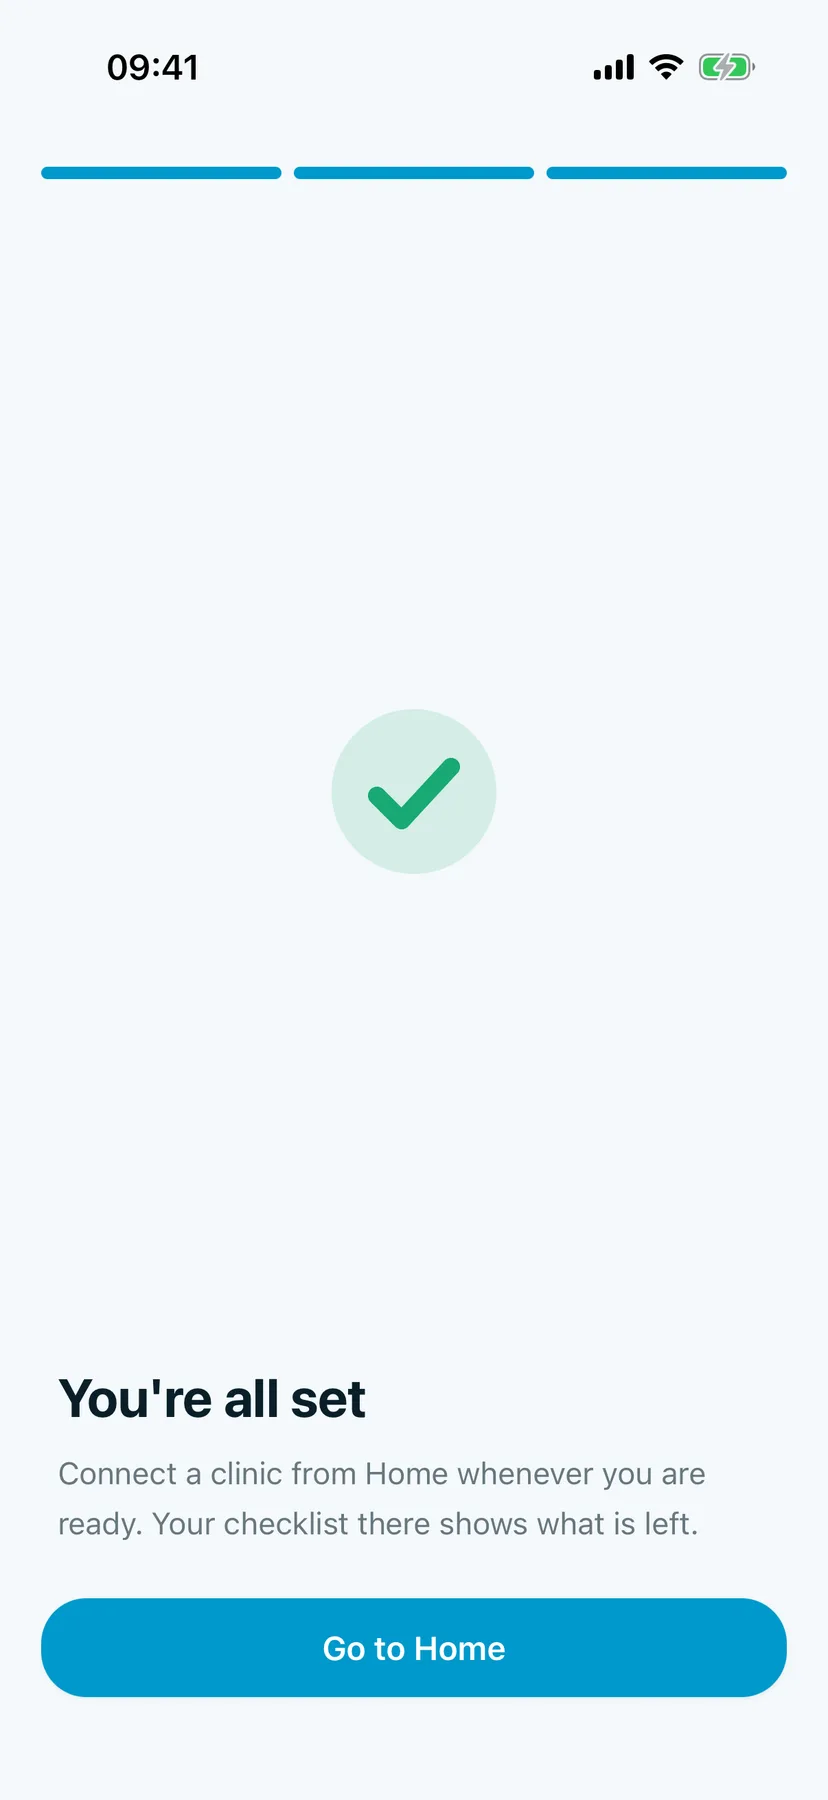
You should see: You're all set. Tap Go to Home.
Tips
If something goes wrong
An account with this email already exists. You already have an account. Tap Already have an account? Sign in instead.
Good to know
Making an account does not show your clinic records yet. Records appear once you connect your clinic.